Policies define who can access what, when, and under which conditions. They can be created using the Policy Wizard, by writing them in Rego, or by inserting Native code in the Policies Workspace.
Once created, Policies can be managed in the Policy Catalog, which is the central repository for all Policies. Here you can view, update, export, or delete Policies, as well as create new Policies and activate or deactivate Policies. The Policy Catalog also provides visibility into how Policies are connected to Actions, Rulesets, and Dynamic Groups, making it easier to trace and maintain dependencies
Click on a Policy in the Policies Workspace (formerly Authorization Workspace) to manage it. When managing Policies, you can see:
- Applications – Applications connected to the Policy
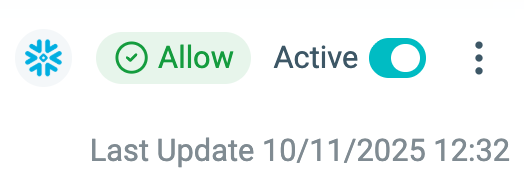
- Access Type – Whether the Policy allows or restricts access
- Policy State – Current status (Active or Inactive)
- Last Update – The most recent modification timestamp
You can also use the three-dot menu to Export Policy code or Delete a Policy.
Active Policies are included in Authorization decisions, while Inactive Policies are ignored. Policy State is Environment-specific. By default, Policies are Active when created or imported.
To change a Policy State:
1. Select the Policy.
2. Toggle Active/Inactive from the title bar.
For more details, see:
Managing Applications
Managing Dynamic Groups
Managing Actions
Managing Rulesets
Policy Views
After creating a Policy (see Creating Policies), the next step is to manage your Policy. Policy Views gives users a complete picture of how a Policy is defined and applied, with options to edit specific parts as needed.
Click on a Policy in the Policies Workspace to open the Policy Views screen. Policy Views includes the following tabs:
- Details
- Rules (Who, What, When)
- Code
- Map
- Native (Relevant to Snowflake and Databricks Policies only)
- Audit
Each tab provides a different way of understanding or updating a Policy.
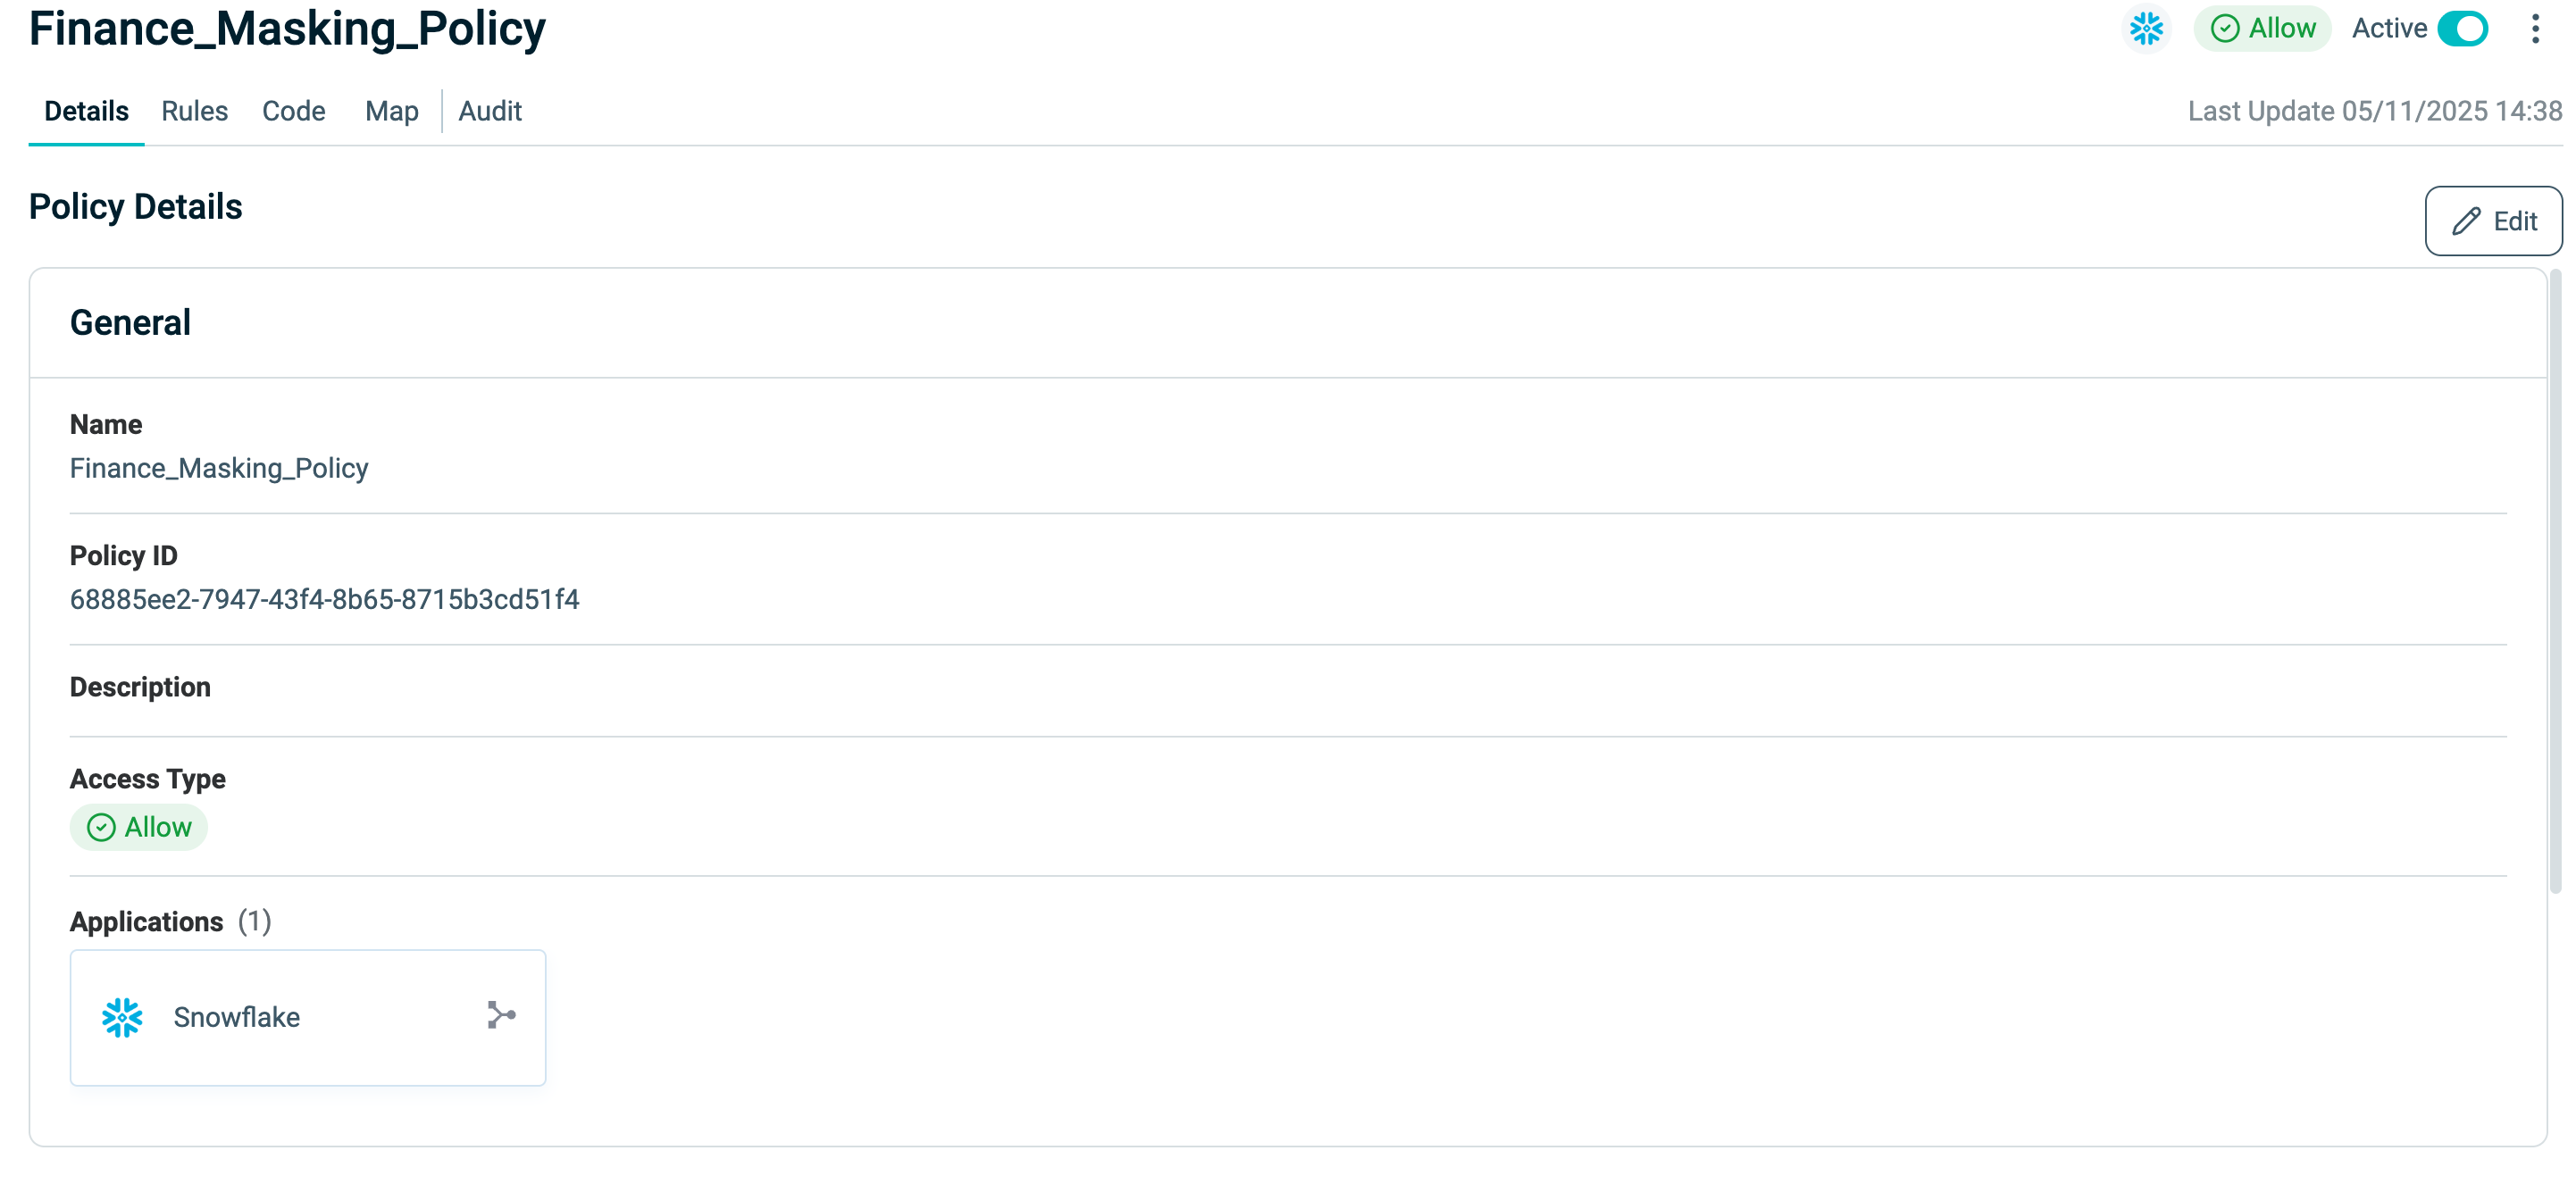
Details
In the Details tab, you can view or edit:
- Policy Name
- Description
- Access Type – whether the Policy allows or restricts access
- Connected Applications
The Policy ID is read-only.
Note: An inactive Policy is excluded from authorization decisions.
Rules
The Rules tab defines the core logic of a Policy, structured into:
- Who – The Dynamic Groups (identities) to which the Policy applies.
- What – The Asset Types, Actions, and Rulesets that specify what resources can be accessed and how.
- When – The Conditions that define when access is allowed or restricted.
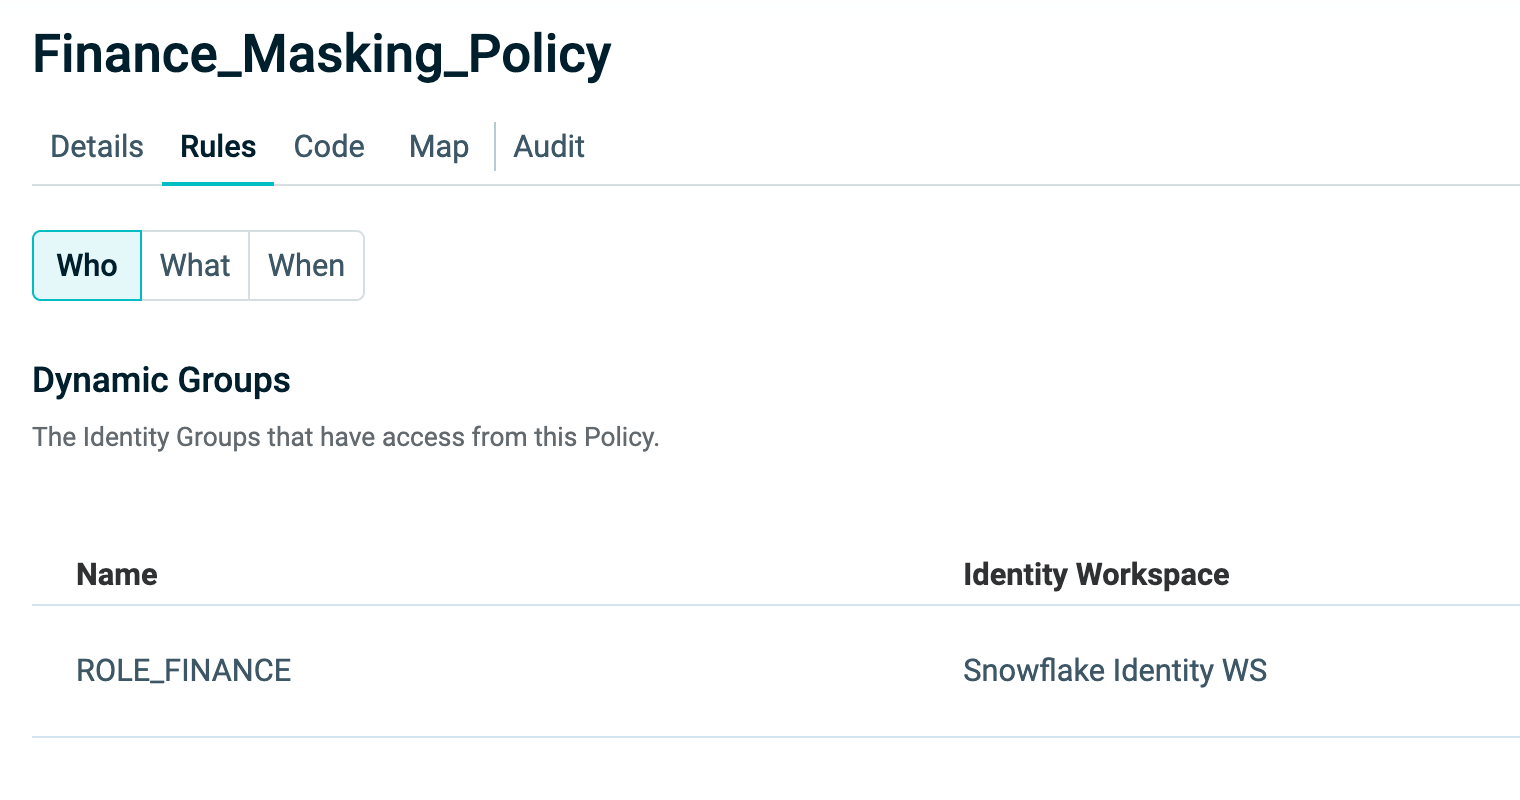
Who
The WHO section allows users to view and manage the Dynamic Groups linked to the Policy.
- Click Edit to add, remove, or update groups.
- Create a new Dynamic Group directly while editing.
For details on creating Dynamic Groups, see Policy Wizard.
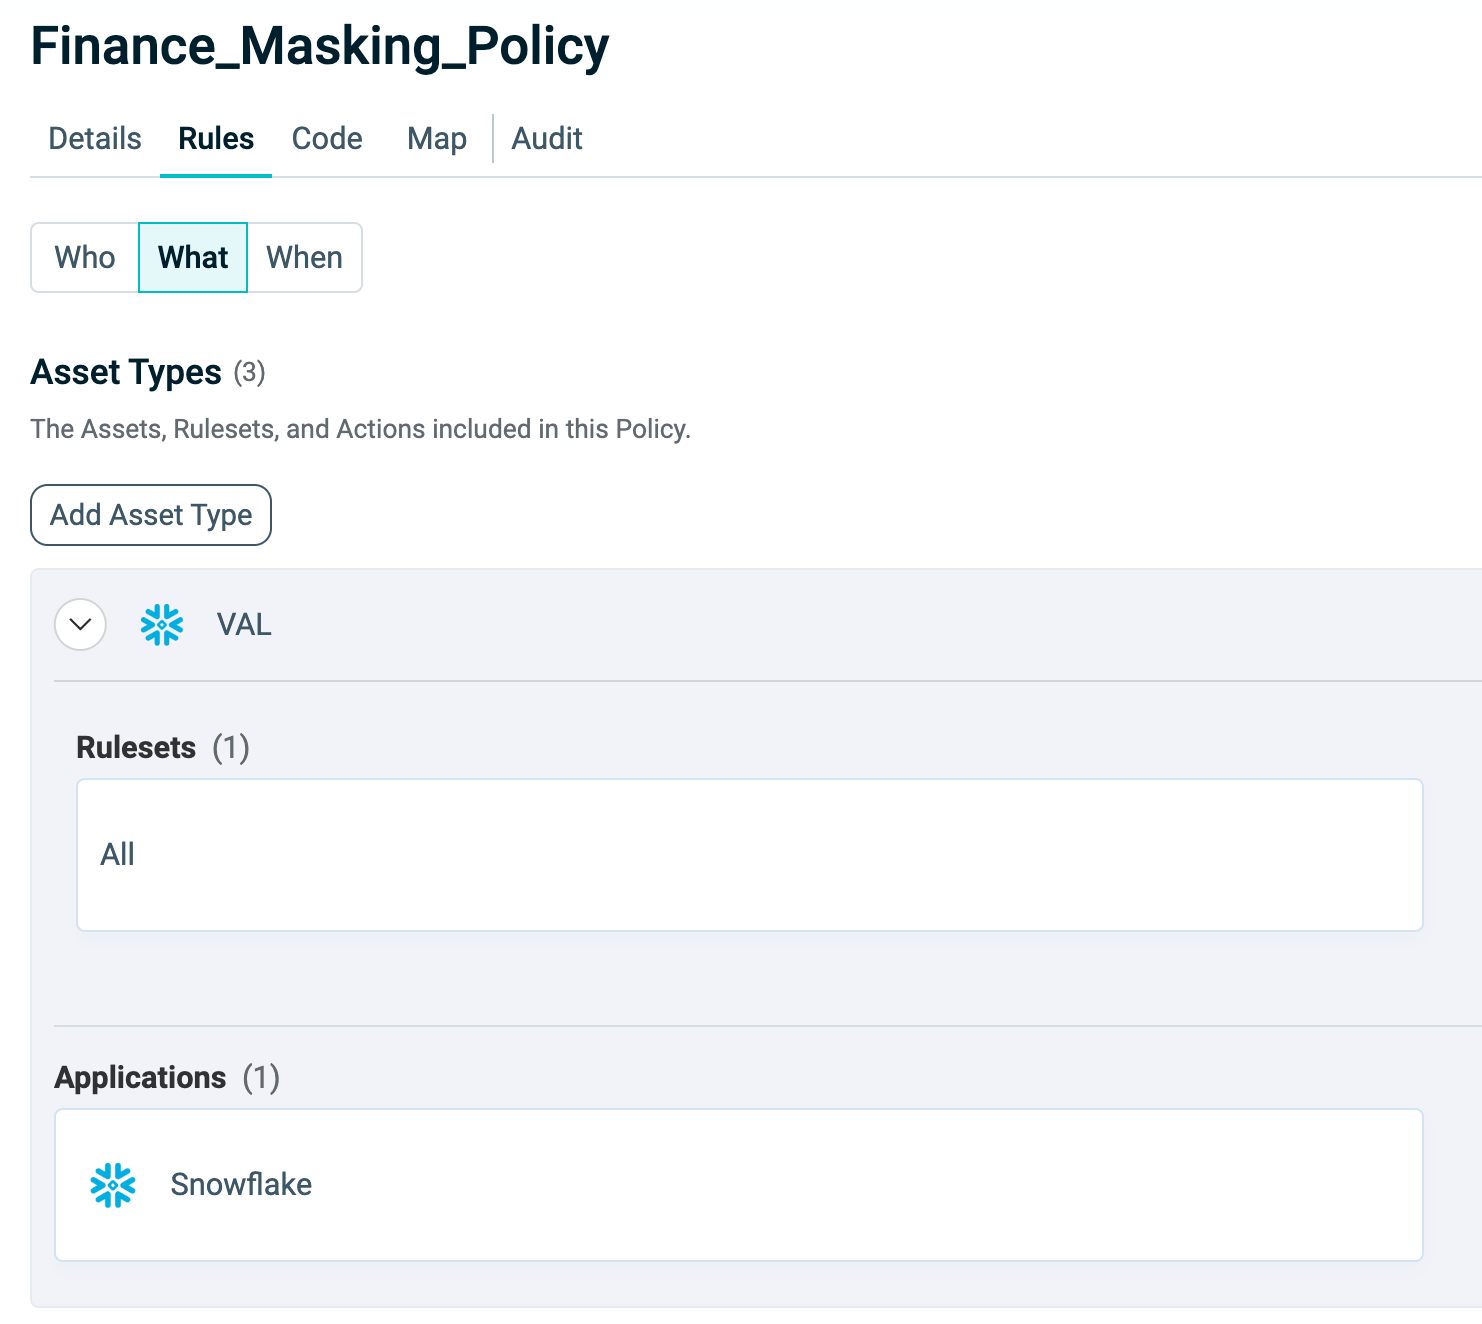
What
The What section controls access to resources. It connects Asset Types, Actions, and Rulesets, allowing you to configure exactly what users can do with a given Asset.
Click Edit to add, remove, or update Asset Types.
-
Asset Types – The categories of resources governed by the Policy.
-
Actions – The operations that can be performed on the Assets (for example, view or manage). Actions are linked to Asset Types and can be customized for each.
-
Rulesets – Collections of rules that define the permitted or denied Actions on Assets.
- You can edit an existing Ruleset to update its logic or conditions. See Managing Rulesets for more information.
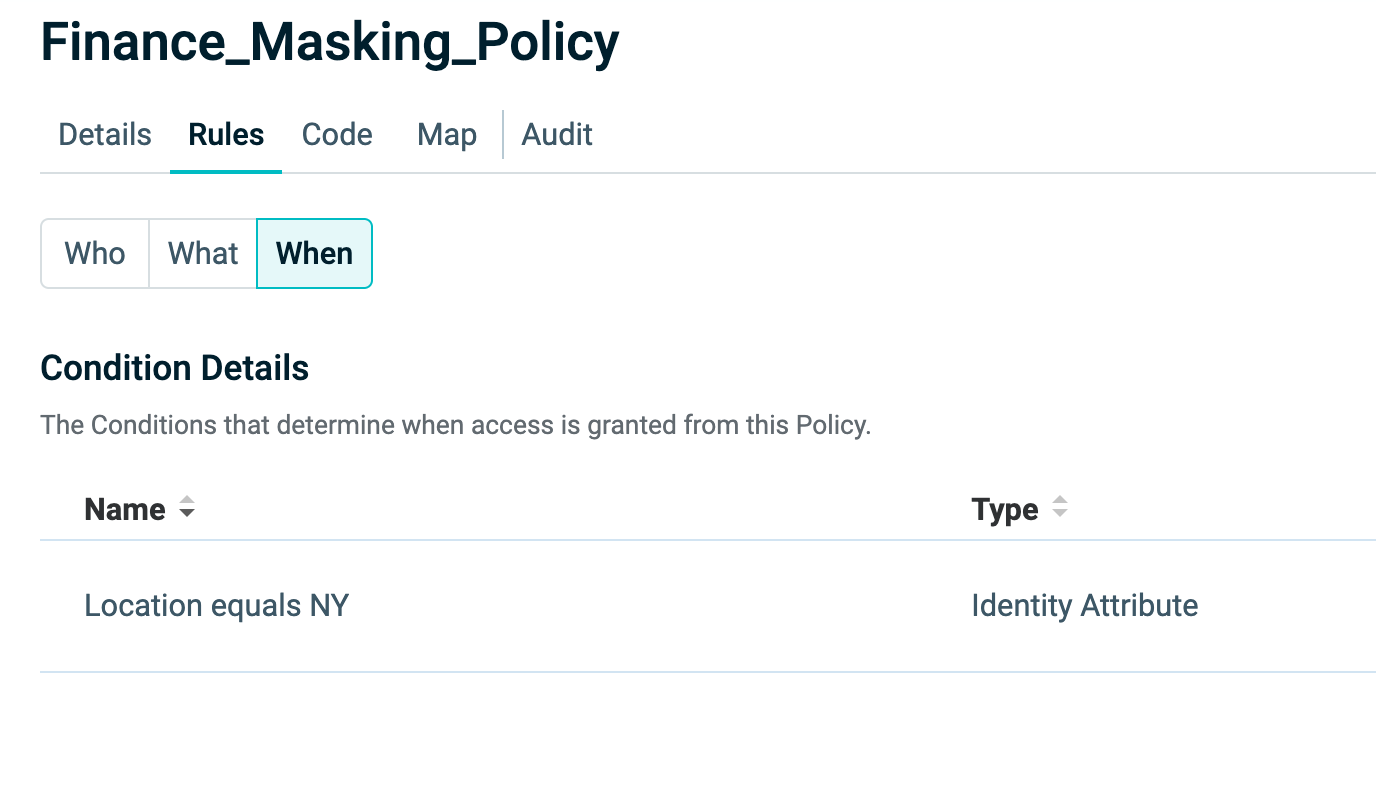
When
The When section adds context to your Policy by defining Conditions. These are evaluated at runtime to determine whether access should be granted.
Click Edit to:
-
Add a new Condition
-
Search and filter existing Conditions
-
Update existing Conditions to refine access rules. See Managing Conditions for more information.
-
Conditions can include constraints such as:
- Date and time restrictions
- IP address ranges
Conditions are powerful for applying context-aware logic to Policies. For example, you might allow access only from a specific location or only from specific networks.
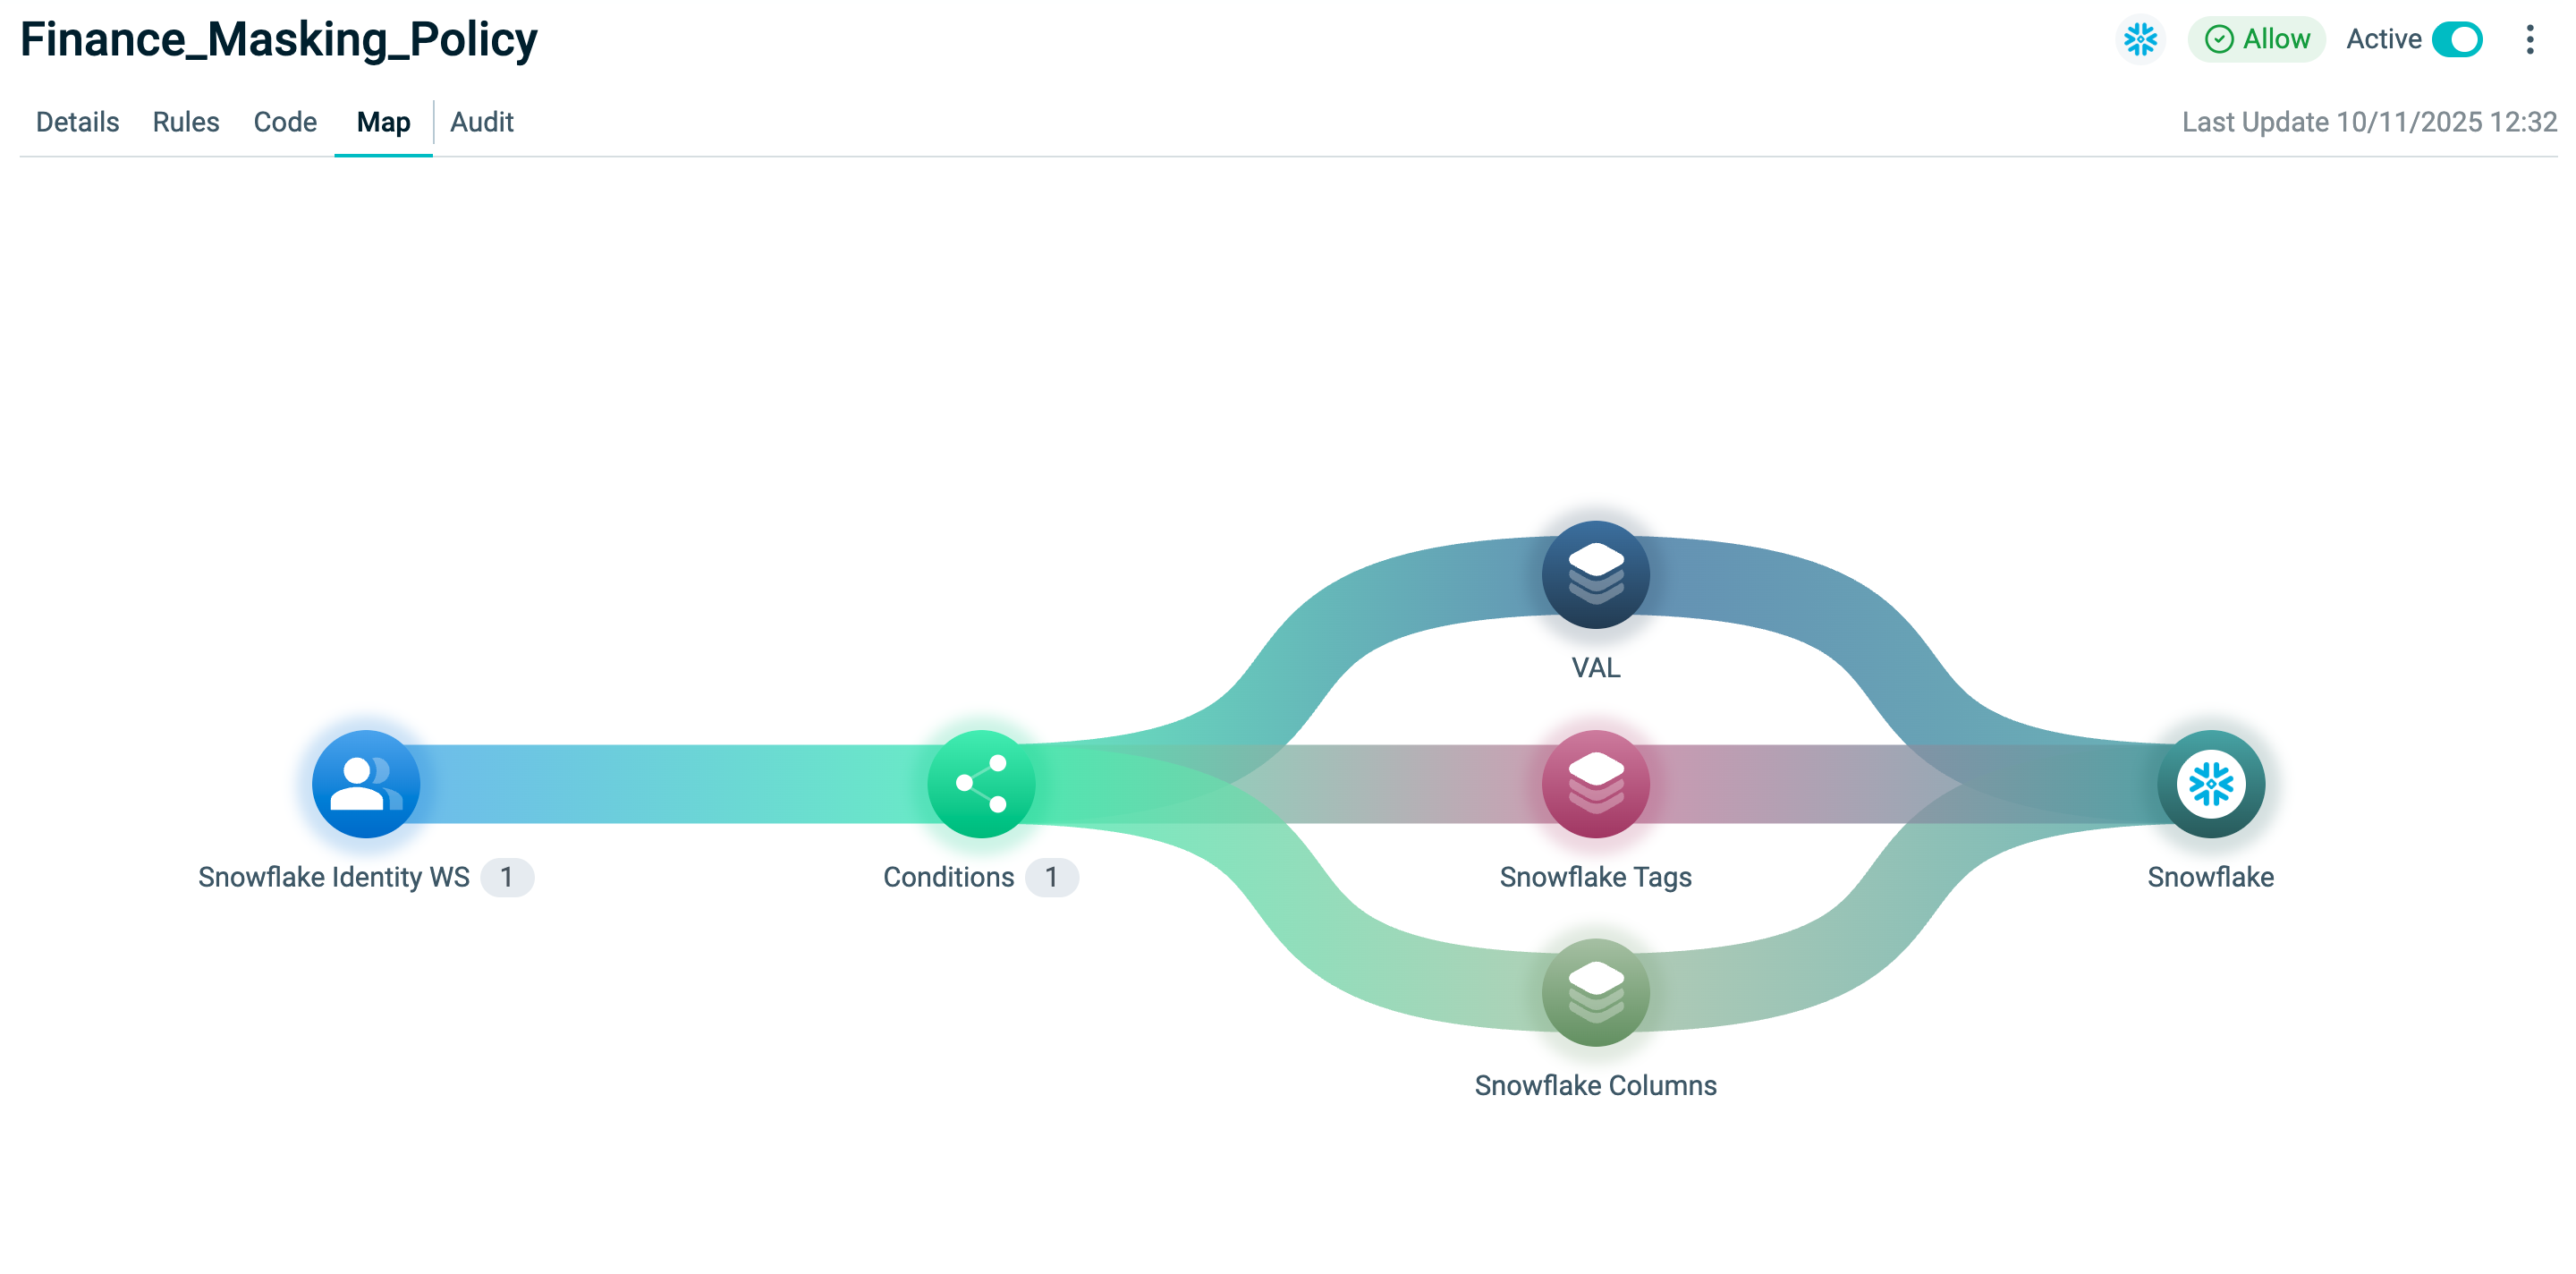
Map
The Policy Map provides a visual representation of all Policy components. Click objects for more information about each object.
The map displays:
- WHO – Dynamic Groups The Dynamic Groups that are granted or denied access.
- WHEN – Conditions: Contextual restrictions such as date/time, IP address, or identity attributes.
- WHAT – Assets: Assets and Rulesets, which can be expanded for details and editing.
- WHAT – Applications: Applications through which access is provided, including any configured logos.
Inactive Policies are grayed out in the map and excluded from decisions.
Code
The Code tab shows the Structured Rego definition of the Policy. Developers and advanced users can:
- Edit the code directly
- Import an updated Structured Rego file
- Validate syntax
For creating new Structured Rego-based Policies, see Creating Policies.
Updating, Exporting, and Deleting Policies
Policies in Structured Rego can be updated to promote consistency between Environments.
- Only valid Policies can be imported.
- An Inactive Policy in the source Environment becomes Active by default in the target Environment.
Updating a Policy
To update an existing Policy with Structured Rego:
- Select the Policy in the Policies Workspace.
- Open the Code tab.
- Click Edit.
- Paste updated code or import a file.
- Validate the code.
- Click Update Policy.
If errors are highlighted in the Structured Rego code section, correct them in the editor, then re-import and re-validate.
See our Structured Rego documentation for more information.
Exporting a Policy
Any Policy in the Catalog can be exported as Structured Rego.
- Select the Policy.
- Click the three dots (⋮) on the top right.
- Select Export.
Exporting does not change Policy State. An Inactive Policy becomes Active by default when imported elsewhere.
See our Export Policy API and Structured Rego documentation for more information.
Deleting a Policy
Deleting a Policy removes only the Policy itself. The underlying objects (Assets, Rulesets, Actions, Dynamic Groups) remain intact.
- Select the Policy.
- Click the three dots (⋮) on the top right.
- Select Delete.
Policies can also be deleted using the Delete Policy API.
Native
The Native tab allows you to manage vendor-native policies in different formats. You can paste and modify Native Policy code directly in the Policies Workspace to manage policies in their original syntax.
Note: The Native capbility is only available for Snowflake and Databricks.
The Native capability serves as a universal translator for access governance that aligns business and technical users under one shared view. It applies a standardized process across policy types, using the same workflow for every Policy, from Rego to SQL. This consistency simplifies policy management and removes the need to recode or convert vendor-specific formats.
Watch the video below for an overview of the Native view and a step-by-step guide to creating Native Policies:
Audit
The Audit tab provides a history log of Policy changes, including:
- Event ID – Unique identifier for each event
- Date – When the event occurred
- User – Who initiated the event (email address, anonymous, or POP ID if triggered by Orchestration)
- Operation – The action performed (Create, Update, Invite, etc.)
- Operation Source – The system or method that performed the operation
To filter columns, use the Column Display dropdown.
Clicking on an event opens a side panel with more details. For Update events, a Compare Changes button is available to highlight what was modified.