This documentation focuses on the complete lifecycle of Scopes in the Authorization Platform, from creation to modification, and deletion.
Follow the relevant sections to navigate through Scope management. Check out About Scopes to learn more.
As of PlainID's January 2024 release (5.2402), Scope Management allows users to set two new properties affecting how Authorization Requests are authenticated and how the PDP evaluates Identities.
Existing Scopes operate in backward compatibility mode, with no change in behavior. The new properties are not defined by default to maintain backward compatibility, and existing Scopes are marked as incomplete. Users are advised to update the latest Policy Authorization Agent (PAA) and configure Scopes by selecting an Identity Matching Type and a Scope Auth Method based on their use-case. Once saved, the Scope will function according to the new settings.
Note that the JWKS Settings option in now in the Scope section.
The JWKS URL can be set up in the Scope.
If a JWKS URL is already defined, the field will be read-only and can be copied.
PlainID recommends copying the JWKS settings to the relevant Scope before it is deprecated entirely.
For details on Identity Matchers and Scope Authentication, refer to Managing Identity Matchers and Managing Scope Authentication.
- Tenant Admins & Environment Admins: Can update and change Scope settings.
- Environment Viewers: Can view the Scope setup in View Mode only.
Creating a New Scope
Scopes can be created on the Environment Settings screen and then modified or deleted.
To create a new Scope:
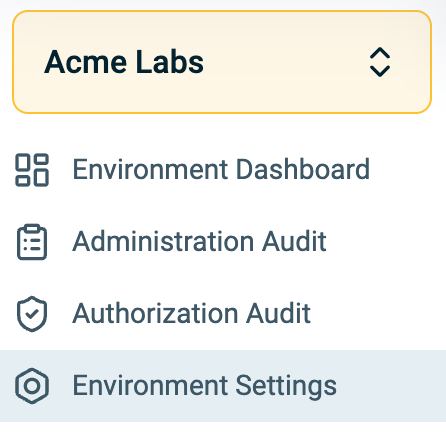
- In your Environment side-bar, click Environment Settings.

- From the Environment Settings screen, select Scopes. The List of Scopes screen is displayed.
- Click Create Scope. The New Scope screen is displayed.
- Enter the Name of the new Scope.
- Click Select Applications and select one or more Applications.
- Define the Cache Duration (Min). Within the Scope, the Authorization Platform manages the authorization credentials runtime response cache duration. The Cache Duration Minimum indicates the amount of time the Authorization Response is cached. The maximum value for this is 1440 minutes (24 hours). The default value is 0 minutes. For more information, see Caching Options
- Select an Identity Matching Type. You can set up the mapping in the Managing Identity Matchers section. Learn more about Request and Matcher flows in the Identity Matching Types section.
- Click on the Mapper Set Association dropdown. You can select one Mapper Set per Identity Template.
Note: At least one Mapper Set Association must be defined.
-
Select an Authentication Method. You can learn more about Scope Authentication and validating the JWT Settings in the Managing Scope Authentication article.
-
Click Create. The new Scope is added to the list of Scopes.
Modifying a Scope
To modify a Scope:
- From the Environment Settings screen, select Scopes. The List of Scopes screen is displayed.
- Select the Scope you want to modify.
- Adjust the fields according to your modifications.
- Save your changes by clicking Continue at the bottom of the screen.
See Managing Identity Matchers and Managing Scope Authentication for more information on Identity Matchers and Scope Authentication.
Deleting a Scope
To delete a Scope:
- Hover over the Scope you wish to delete. Two buttons are displayed: Manage Keys and Delete Scope.
- Click Delete Scope. A confirmation message is displayed.
- Click Delete. The Scope is deleted.
Identity Matching Types
Users can set up an Identity Matching Type by specifying one of two methods in the Scope and managing it in the Identity Workspace Settings. They can send information in a request or by utilizing Identity Matchers. Each option plays a distinct role in the Authorization process while offering flexibility and control over how Identity information is handled, while ensuring a more granular validation process.
-
Send in Request
In a Request flow, send the Identity ID and Type as mandatory fields in the Authorization request. If they are not sent, the flow will use a default Identity Template (A single Identity Workspace template or the default ‘User’ template). If there is no match to the Identity Template or the Identity ID is missing, users will receive an error message. -
Use Identity Matchers
In a Matcher flow, you can utilize Identity Template Matchers and Identity ID Mappers to decide which Identity Template and ID are used in the Authorization request. This process should be used in cases where a JWT is sent as part of the request and is meant to identify the Identity. Check out the Identity Workspace Settings to learn how to use Matchers.