When building Policies and assigning them to Dynamic Groups, it is common to use Identity Attributes (such as Department, Title, etc.) as a way of determining who will be granted or denied access to an Asset. You can manage the Identity Attributes on the Identities Workspace (formerly Identity Workspace) Settings screen and then apply them in a Policies Workspace (formerly Authorization Workspace).
The Platform includes some predefined Attributes. You can also add new Attributes at any time. Attributes are configured with some general parameters (such as Key, Display Name, Description), as well as parameters related to how the Attribute is used (whether it can be included in Policies, in Access Requests, etc.).
Related Articles:
Creating a New Attribute
Attributes can be added to help create more fine-grained Policies. When you are ready to use the Attribute, verify that you have enabled the Can be Used in Access Request field in the Identities Workspace Settings screen. Note that Attributes are specific to the Identities Workspace in which they are created and not shared with other Workspaces.
To create a new Identity Attribute:
- Next to your Identities Workspace, click on the Settings screen.
- Click Identity Attributes. The Attributes List opens, displaying all currently defined Attributes.
- Click New Attribute.
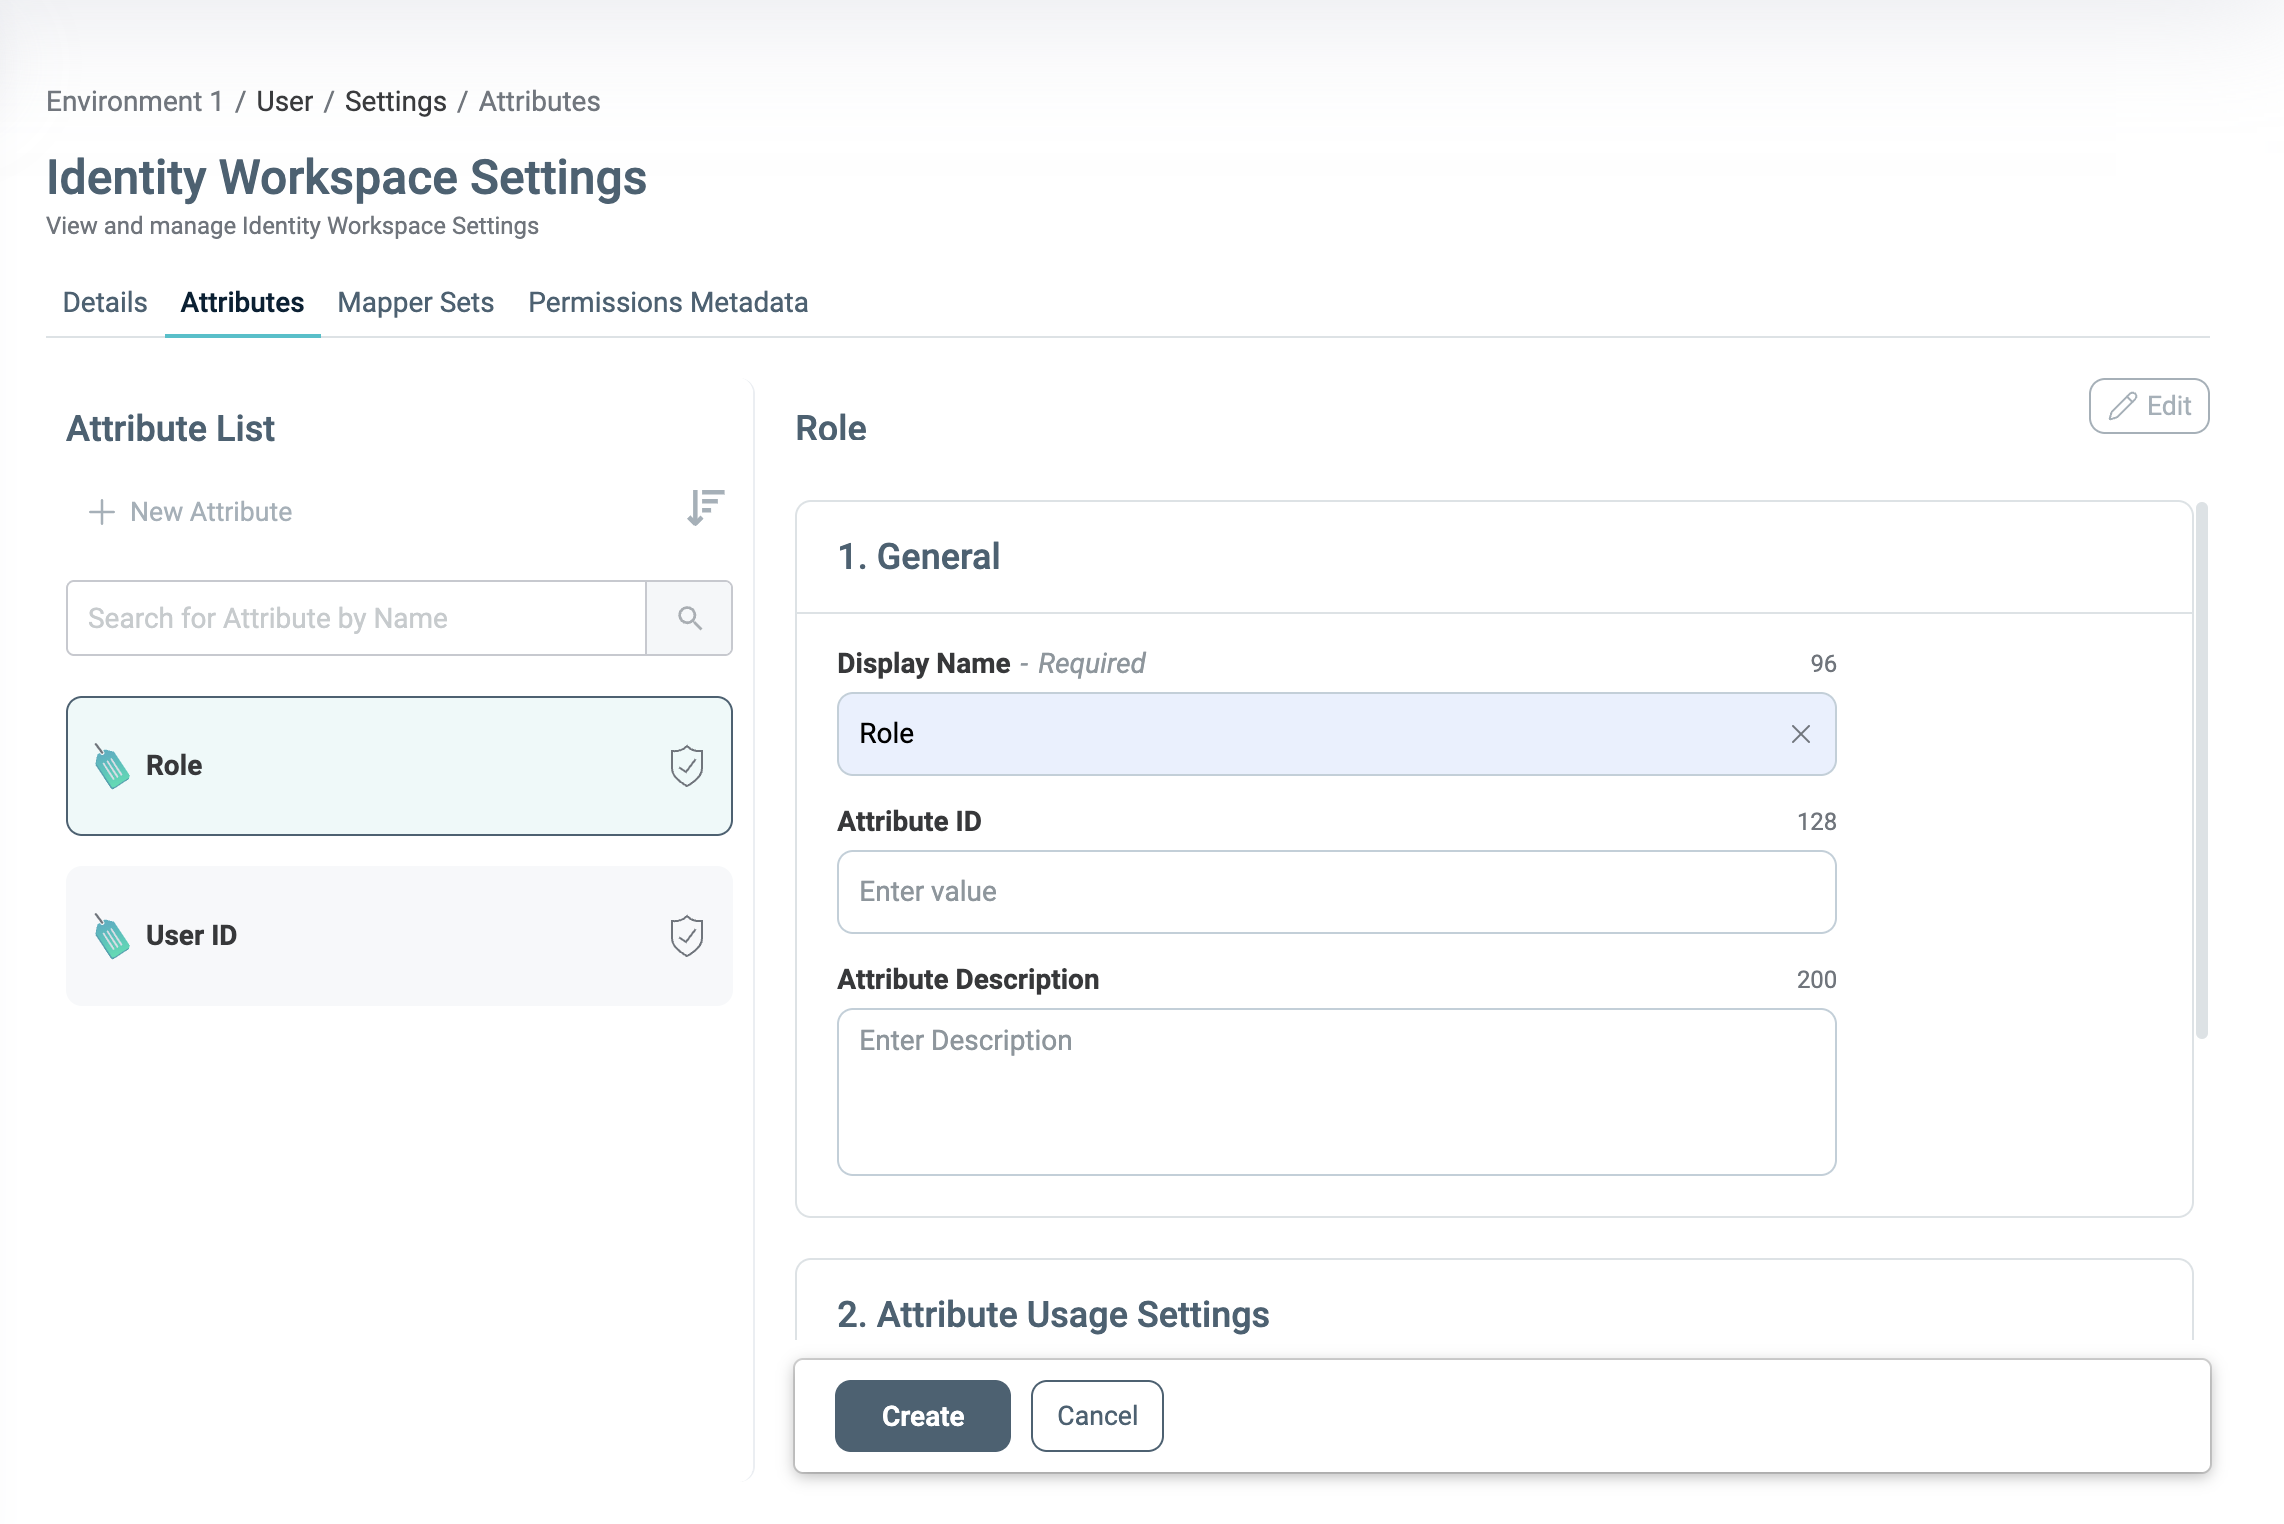
- In the General section:
- Enter the Attribute ID used to identify the new Attribute (required).
- Enter the Display Name. This is the name that will be visible in the Attributes list. At this point, the new Attribute will already appear in the Attributes list.
- In the Attribute Description field, enter details or information about the Attribute (optional).
- In the Attribute Usage Settings section:
- Set whether the new Attribute is Available for Policies.
- Set whether the new Attribute Can be used in Access Requests.
- Select whether the Attribute Type requires a String or Numeric value.
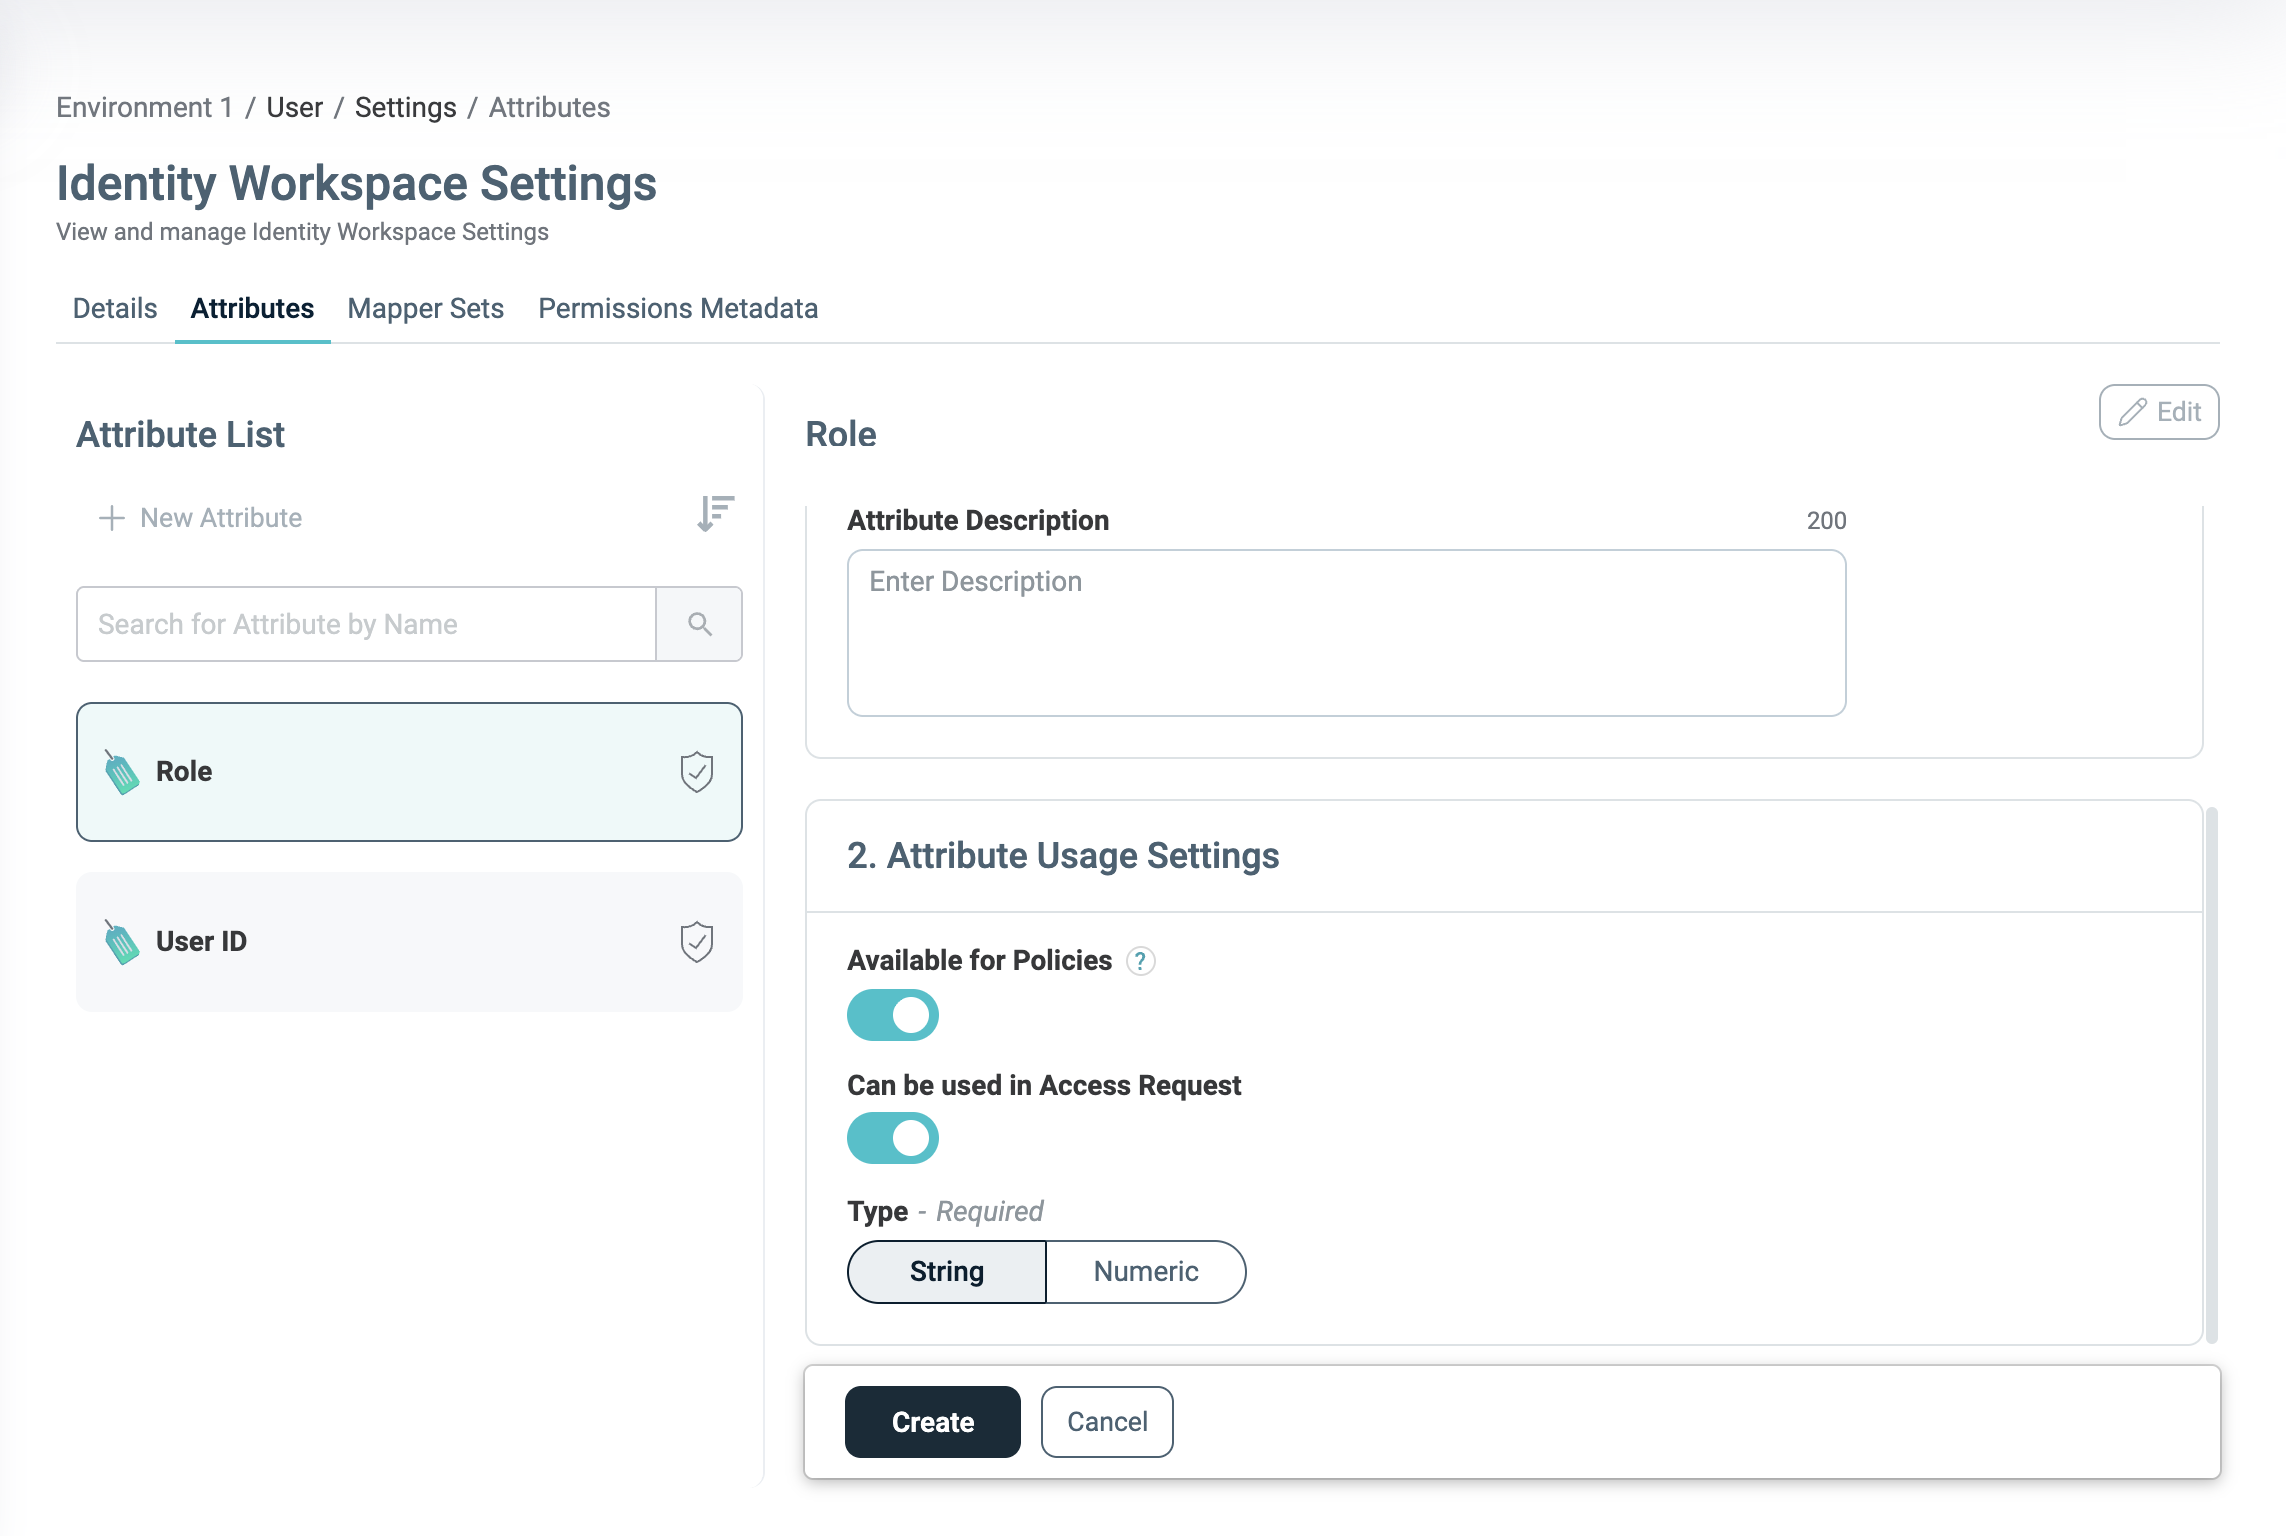
- Click Create to create the new Attribute.